It is so popular that it is difficult to obtain! What is the appeal of RATEL WORKS WAL TENT 2?
RATEL WORKS WAL TENT 2 is popular among families due to its spacious tent interior, sophisticated appearance, comprehensive range of accessories, and good value for money.

The tent's spacious interior, sophisticated appearance, comprehensive range of accessories, and good value for money are popular among families.
At one point, it became so popular that it became difficult to obtain even by lottery...
This time, we will tell you the charm of RATEL WORKS WAL TENT2.
spec
Here are the basic specs.
| Number of people supported | 4 people |
|---|---|
| Material | Flysheet: 210T nylon taffeta (PU coating, water pressure resistance 2000mm, Teflon water repellent processing, UV protection processing) Inner: 65% polyester, 35% cotton (repellent) Water treatment) Inner (bottom): 210D polyester oxford (PU coating, water pressure resistance 2000mm, water repellent) Main pole: A6061 Φ32mm Extension pole: A6061 Φ22mm Front x 2 Side 2 Arch pole: A7001 Φ13mm |
| Wind resistance | Up to wind speed standard class 7 (wind speed 13.9 to 17.1 m/s) *Use in strong winds is not recommended as the shape is not wind resistant |
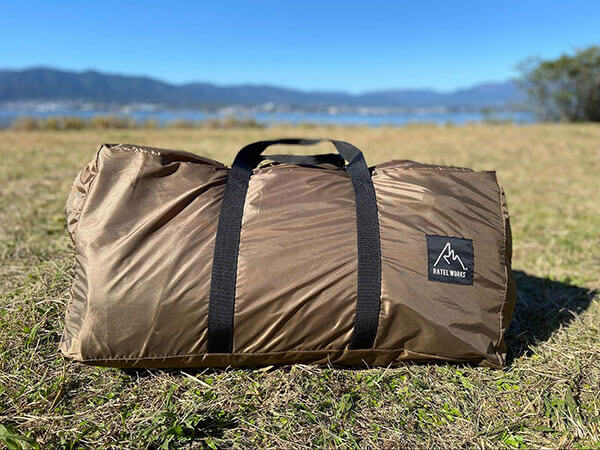
| Weight | About 16kg |
Charm of Val Tent 2
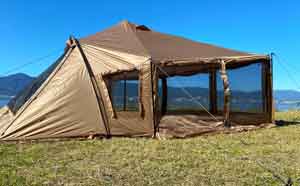
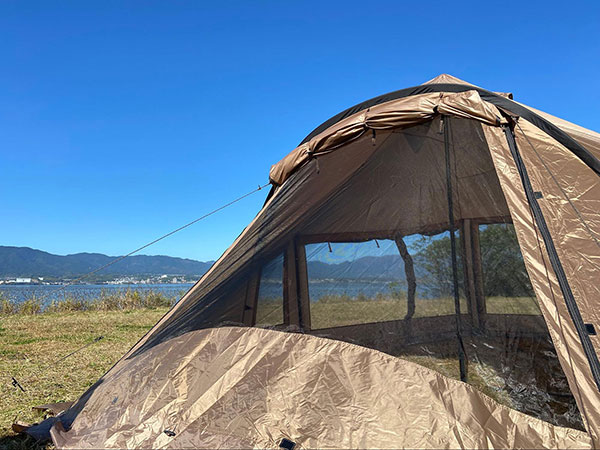
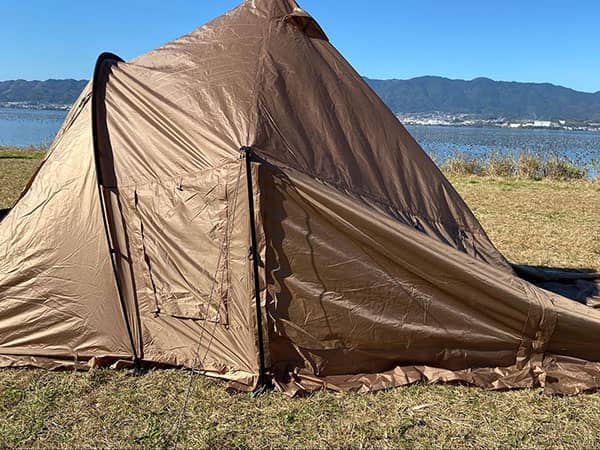
1. Unique exterior
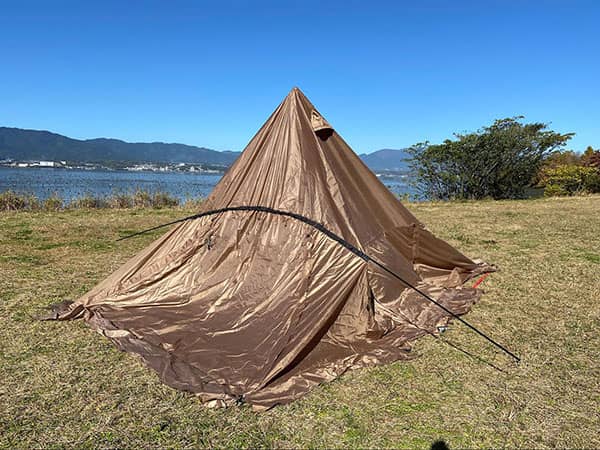
Like a tunnel tent, like a one-pole tent.
The unique design, which seems to be a fusion of two types of tent shapes, will tickle the hearts of campers.
This side is the front part and can be used as a living room.
It can also be used as an open tarp by flipping it up, making it perfect for shade from the sun.
This is the shape of the part where the inner on the other side will go.
The highest part in the center is fixed with a pole, and the lower part on the right side of the photo from the pole is where the inner tent will fit.

The highest point, where the main pole is placed, is 215cm high, 510cm wide and 280cm deep, making it very spacious inside.
2. Inside the tent
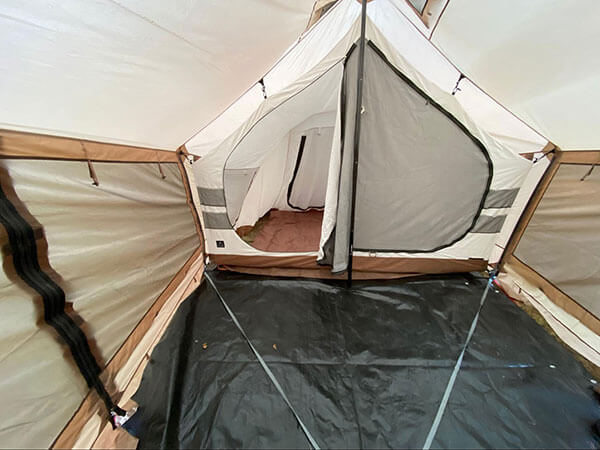
It has two rooms, and in the winter you can camp in isolation by laying a carpet and placing a stove in the living room in the front of the image.
The inner entrance is shaped like a rice ball, and the zipper can be opened from either the left or right side when viewed from the center.
When you go to the bathroom at night, you can do it without stepping over a sleeping person!
The inner material is 65% polyester and 35% cotton (water repellent), which is breathable in the summer and prevents condensation in the winter.
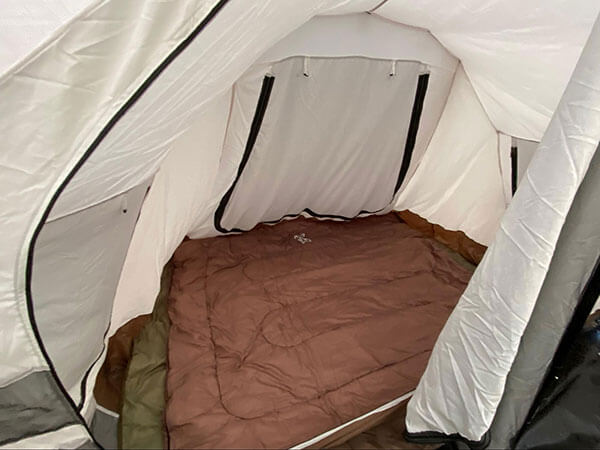
If you use "DOD My Sleep" it will look like this.

There is also a total of 4 mesh pockets on the outside entrance of the inner, on the left and right sides, and 2 mesh pockets on the inside.
You can store small items that are easy to lose while camping, such as smartphones, glasses, mini lanterns, lantern remote controls, and car keys.

The official website had an image of this orientation.
At my house, it's nicer to have a higher ceiling so my head is closer to my head, so I sleep in the opposite direction as shown in this diagram, with my head facing the pole (center side of the tent) and my feet outside.
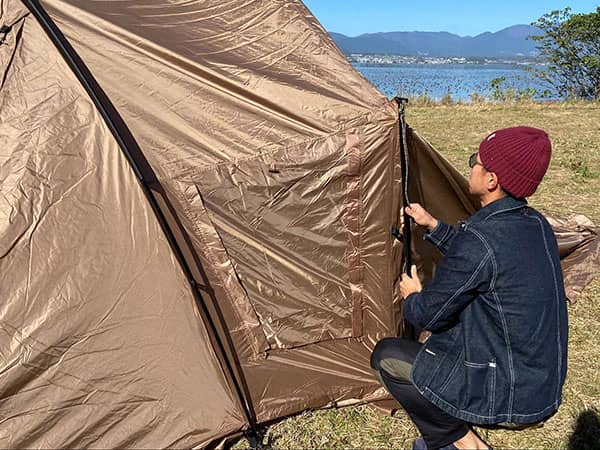
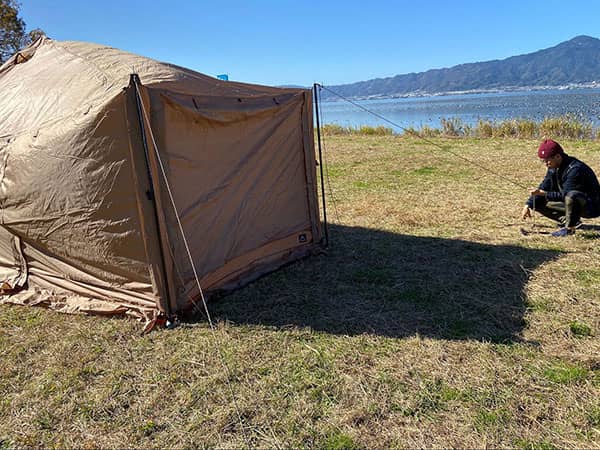
3. Design with a sense of openness
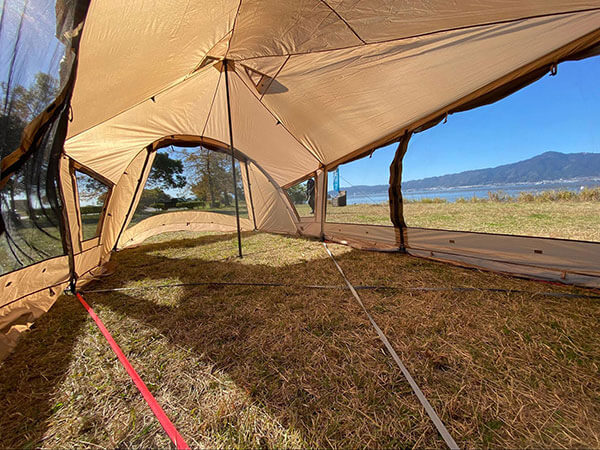
You can make it into a 360 degree window like this.
This photo shows the item with the inner layer removed, but even with the inner layer attached, there are mesh windows on the front, back, left and right sides.
In seasons such as spring and autumn when there is a refreshing breeze, or in the hot and humid summer months, you can use a full mesh instead of an inner layer to allow air to pass through the tent.
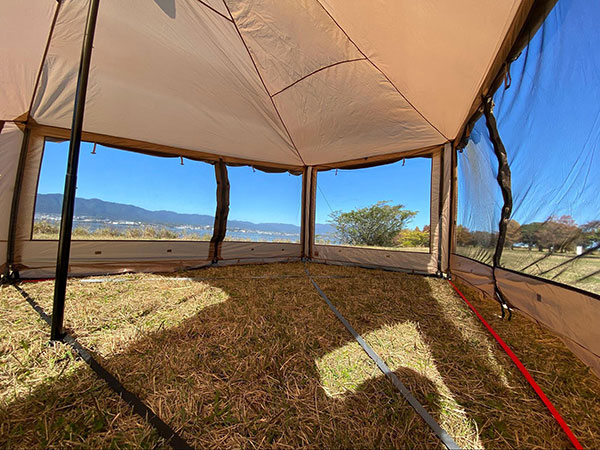
In this way, even though you are inside the tent, you can feel the openness of being outside.
Also, even when small children are playing outside the tent, they can see all directions without blind spots.
4. Other favorite points
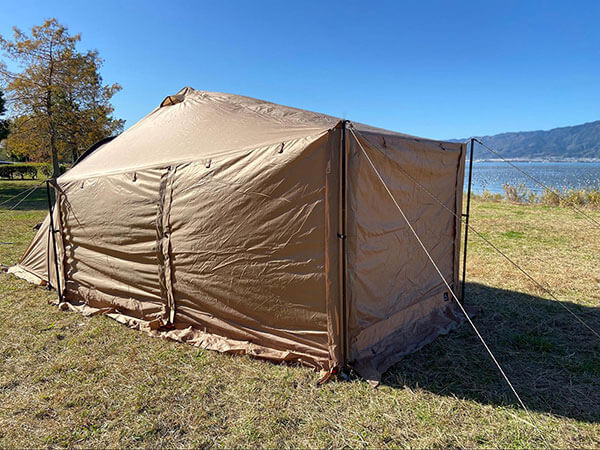
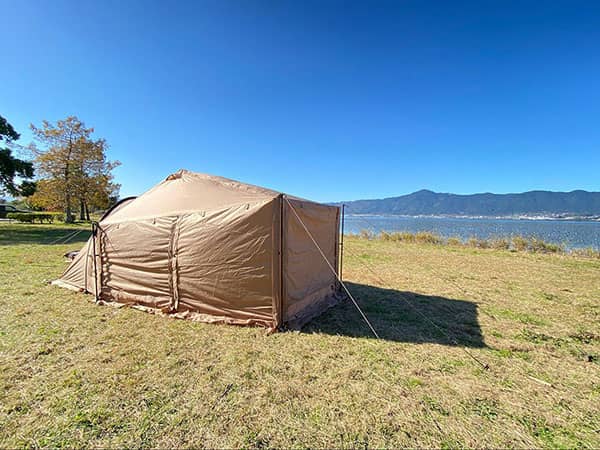
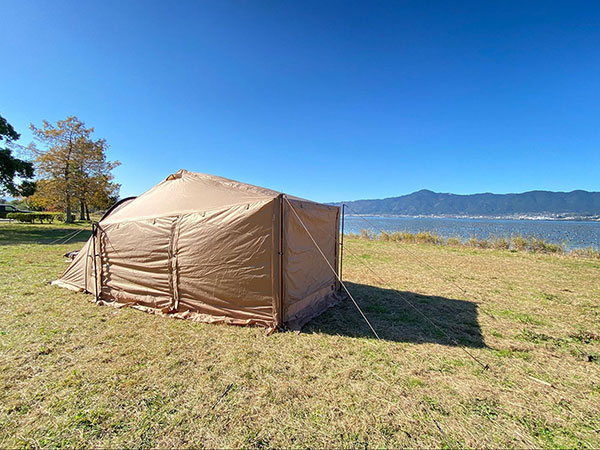
Personally, I like the zipper specifications.
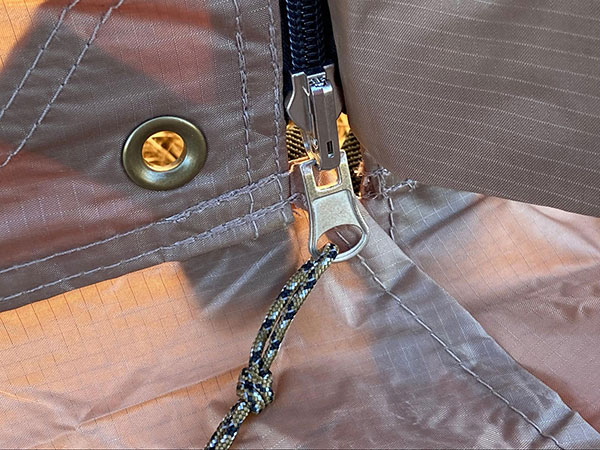
It has a back-proof zipper, so after closing all the zippers...
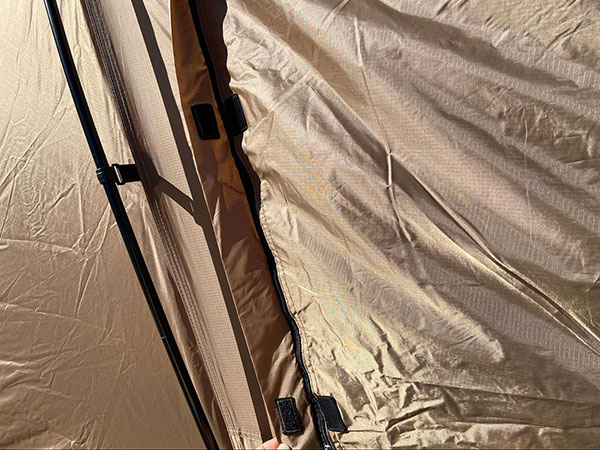
It can be fastened with Velcro. When all the Velcro is fastened...
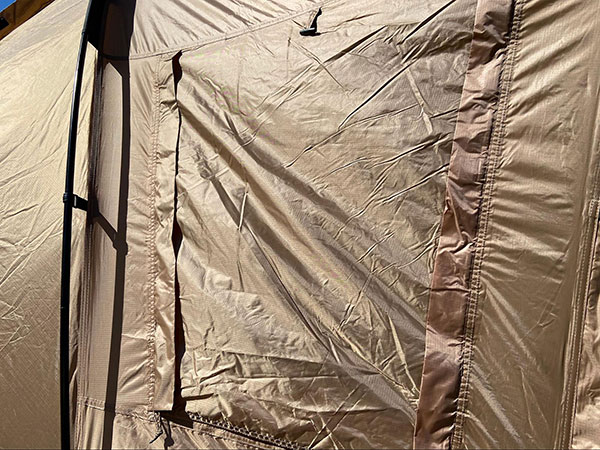
The silhouette is so clean that you can't even tell where the zipper is at first glance.
In addition, the flysheet that forms the roof is made of a material called "210T nylon taffeta."
"210T" refers to the density of fibers, meaning that 210 fibers are woven vertically and horizontally into one square inch.
The fibers are coated with a PU (polyurethane) coating that increases waterproofness, guaranteeing a water resistance of 2,000mm.
Additionally, the Teflon water-repellent treatment maintains its water- and oil-repellent properties, so it repels liquids such as rain and prevents it from getting wet and spreading.
In addition, it has been treated with UV protection to protect it from UV rays.
5 included The quality is excellent
I was very surprised by the high specs of the Wal Tent 2 accessories.
It doesn't feel like a "freebie", but all of the items are highly functional and can be used well...
And at 79,800 yen including tax, including the tent, I take my hat off to the overwhelmingly good value for money.
Part 1 Brass peg & hammer
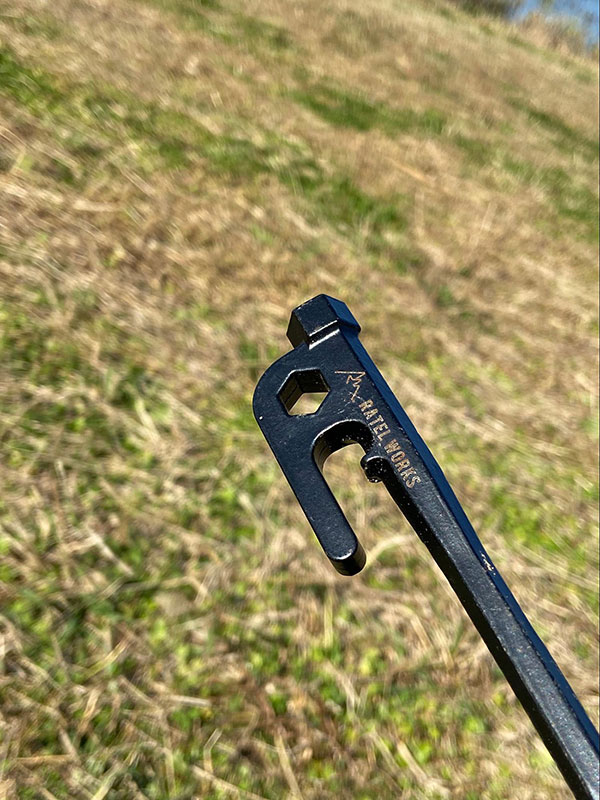
Includes 17 25cm cast pegs and 1 hammer.
It can be driven into hard ground and securely secures tents and tarps without being affected by strong winds.
Another attractive feature is that each piece has the RATEL WORKS logo like this.
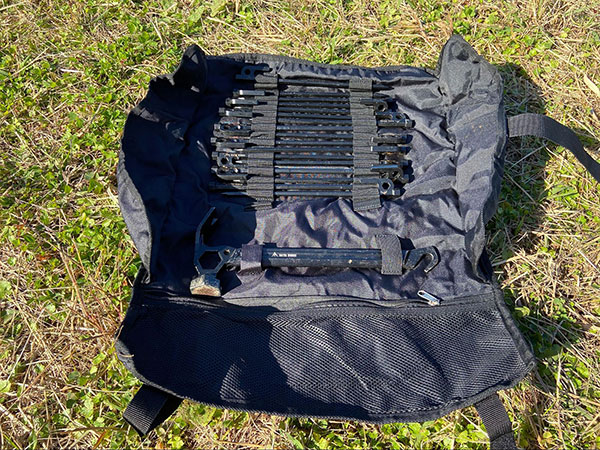
There is a place in the tool bag to store one hammer and one peg.
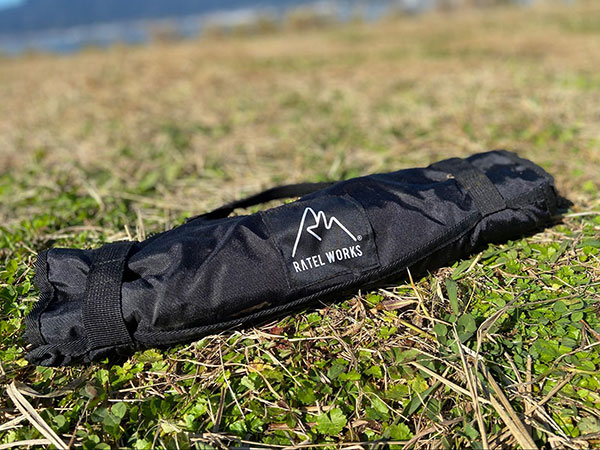
Click here to see what it looks like.
It can be easily stored in a small size by rolling it up.
Part 2 Instruction manual with photos
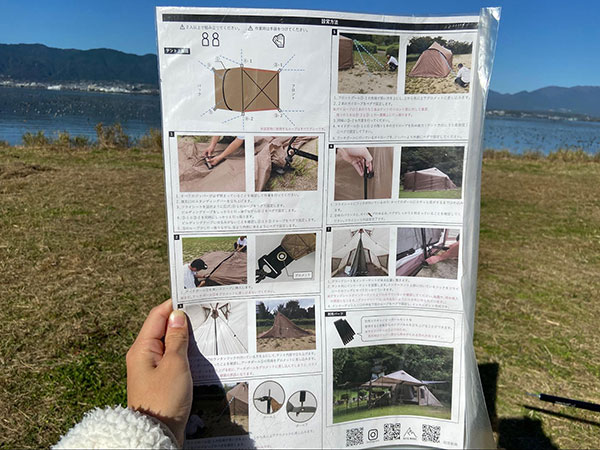
Contains information on how to set up a tent and precautions.
When setting up a tent right after you buy it, or when it has been a while since your last camping trip, you may find yourself wondering, "Huh? How am I going to set it up next time?"
But if you look at this, even beginners can easily set it up.
Part 3 Daisy chain
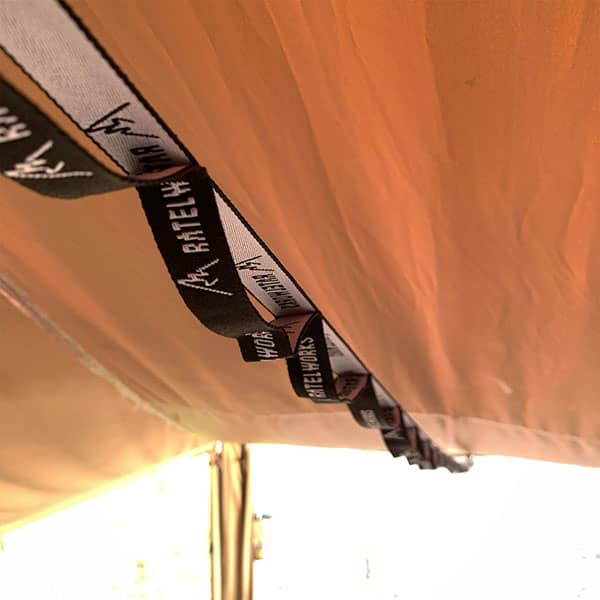
This daisy chain can be used to hang a light in the living room or as a clothesline for drying sleeping bags in the morning.
Made of nylon and can be used in lengths between 2m60cm and 3m25cm.
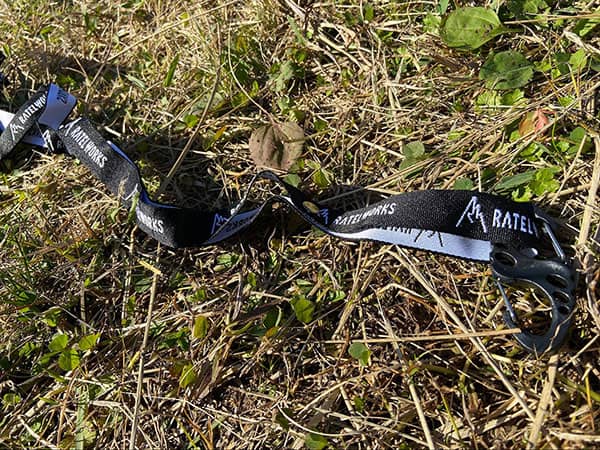
Carabiners are attached on both sides, so you can use it right away♪
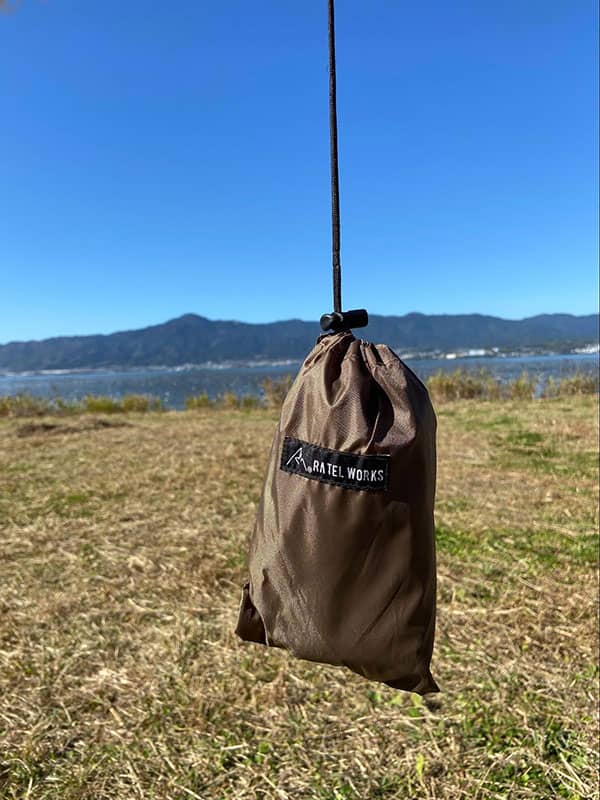
This also comes with an attached pouch, so you can store it neatly.
Here is a recommended installation method★
Attach one side of the carabiner to the center pole like this.
Attach the daisy chain from the center pole indicated by the blue ⚪︎ towards either of the red ⚪︎ (corners of the window rectangle).
If you install the other end of the carabiner in the center of the living room window like this yellow ⚪︎...
When viewed from the outside, the square ceiling of the tent sag due to the weight of the lantern.
However, the red ⚪︎ part I mentioned earlier can be fixed with poles or ropes, so as long as it has a certain amount of weight, it will be able to maintain the shape of the tent.
Part 4 Ground sheet
In addition, a ground sheet to place under the inner tent is also included.
This sheet is relatively thin, but it is very useful in terms of preventing stains.
At our house, we put another thick sheet on top of this sheet to reduce the coldness from the ground and the hardness of the gravel.
Part 5 Pole case
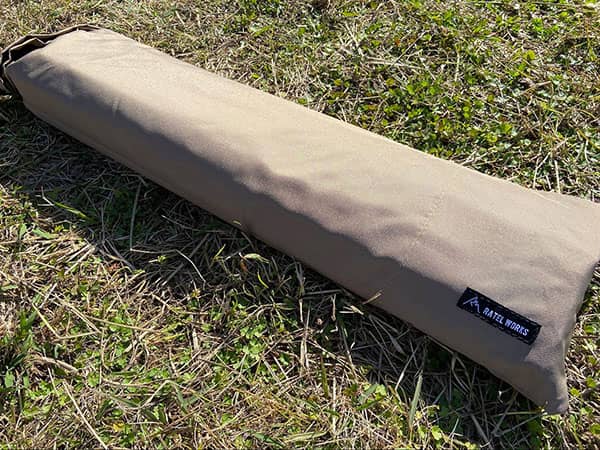
Comes with a sand beige colored pole case.
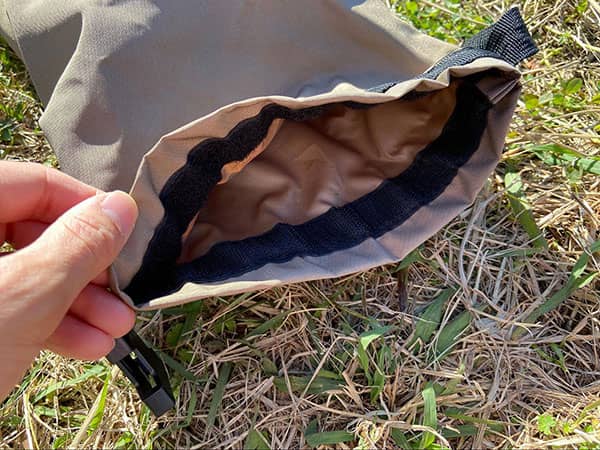
The opening is the type that can be folded back like this and fastened with a buckle.
Since there is no string, you can put it in and take it out without getting tangled with the pole.
Explanation on how to set up a tent
Here we will show you how to set up a tent.
This time it went pretty smoothly, so two people were able to set it up in about 30 minutes.
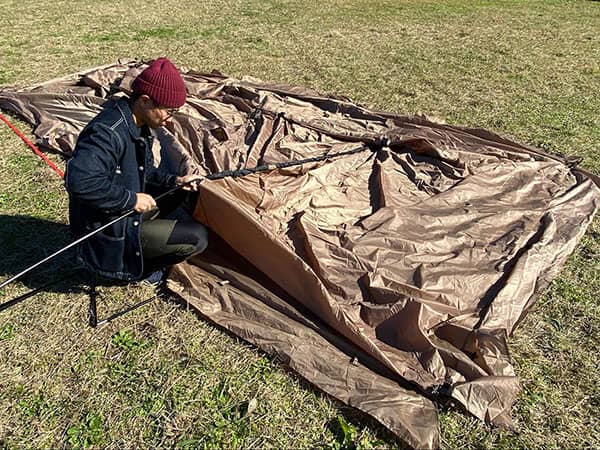
1.Prepare the poles
Connects three types of poles: main pole, front pole, and side pole.
If you connect the arch poles first, it will be difficult to insert them into the tent, so do it later.
2.Fix the base part
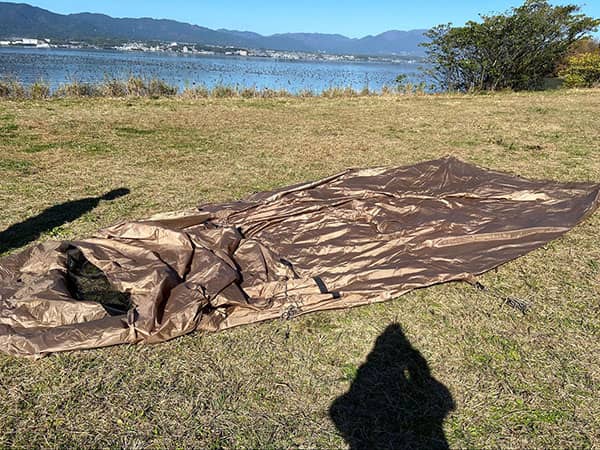
Once you have thought about which entrance to use, spread out the tent where you want to set it up.
Make sure all zippers are closed properly.
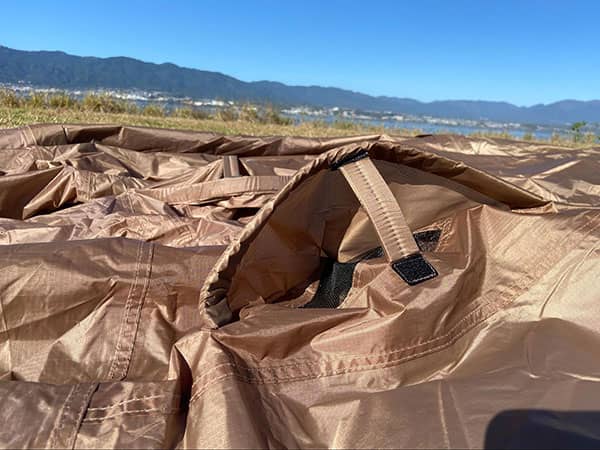
Raise the standing bar of the ceiling vent.
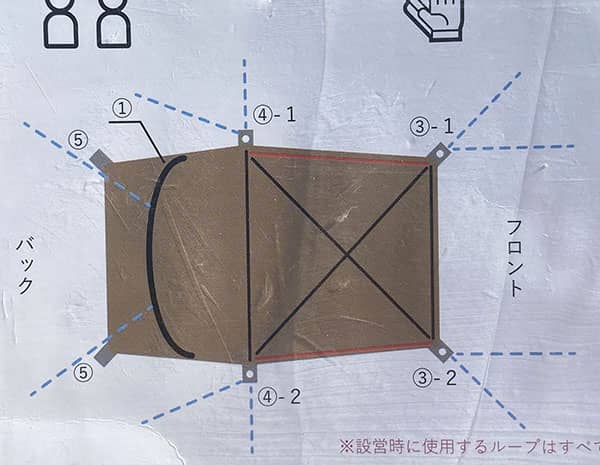
④-1 → ④-2 → ③-1 → ③-2 → ⑤
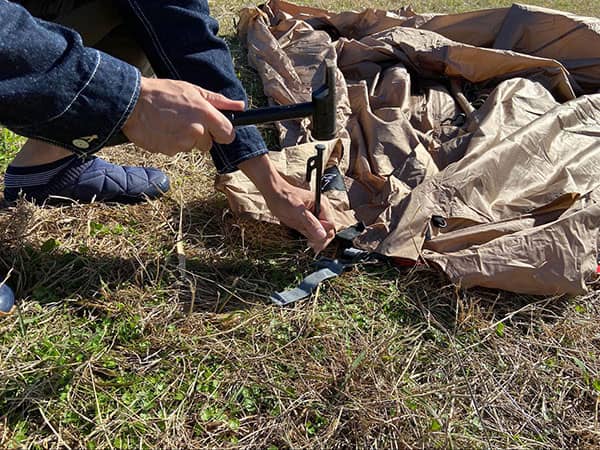
Pull the building tape at each location and secure with pegs in this order.
Especially when fixing ③-1 and ③-2, it is best to have two people pull it so that all the vertical, horizontal, and diagonal building tapes are taut. This is the point.
3.Set up
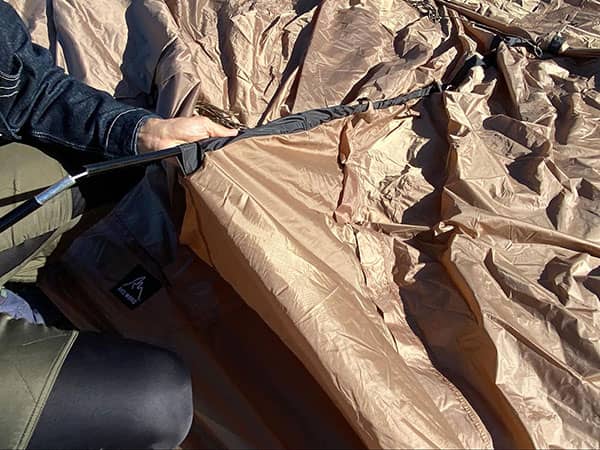
Connect the arch pole while inserting it into the sleeve part shown in figure 1 of the instruction manual.

Next, go inside the tent and set up the main pole.
The one with the lantern hook is on top, so be careful not to make a mistake.
Then insert both ends of the arch pole into the grommets.
Please be careful not to injure yourself as it is a little hard and requires some force.
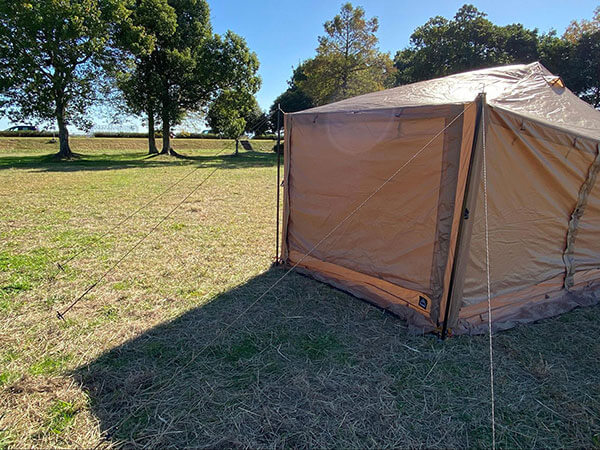
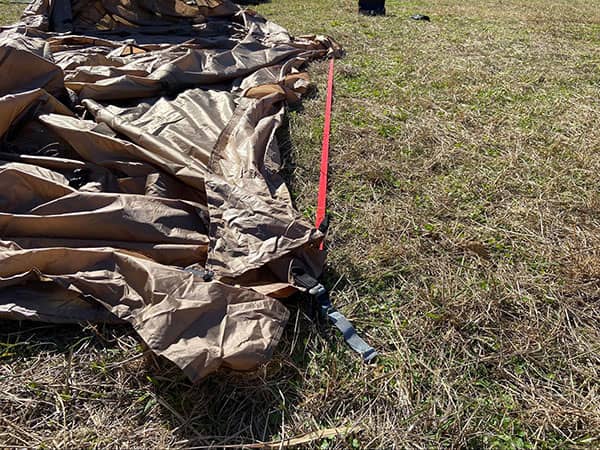
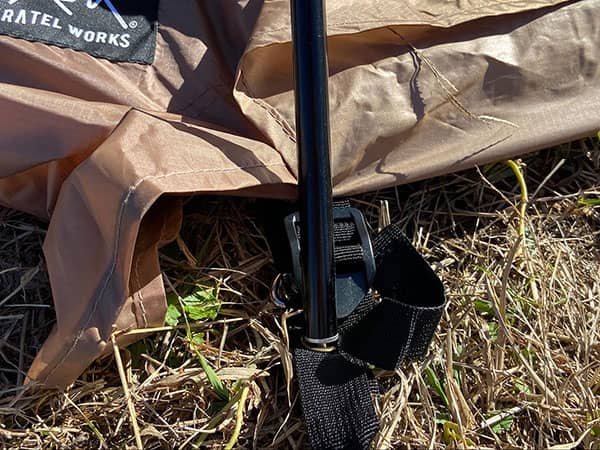
4.Fix the poles and guide ropes
Place the side poles vertically toward the tent and secure them using one guide rope per side pole.
Next, place the front poles vertically toward the tent and secure them with two guide ropes at each location.
After doing this in two places, fix the remaining guide rope on the side pole from earlier.
Finally, after checking the overall balance, fit the hooks on the flysheet into the poles and you're done.
WAL TENT2 allows you to stay comfortable and become one with nature
As you use it, you will grow fond of it and will definitely have a better time camping.